
Thanks for your support! If you make a purchase using our links in this article, we may make a commission. And, as an Amazon Associate, I earn from qualifying purchases. See the full disclosure here.
Published November 9, 2020 | Last updated August 11, 2026
Susan and I tested AirSkirts on our RV in real cold weather because I wanted to know one thing: do inflatable RV skirts actually make a difference?
We did not just install them, take a few pictures, and call it a review. We timed the setup, tested how quickly the RV lost heat without the skirting, repeated the test with AirSkirts installed, then deflated and packed the entire system back into its storage bag.
Our result surprised me.
Without AirSkirts, the temperature inside our RV dropped 12 degrees in one hour. With AirSkirts installed, it dropped only 5 degrees in one hour even though it was colder and windier outside during the second test.
That was enough to convince me that AirSkirts were doing something meaningful.
My quick take: AirSkirts are expensive compared with DIY foam board, but they are dramatically easier to set up, require no permanent drilling into the RV, store reasonably well, and in our test they clearly reduced heat loss.
If you decide they make sense for your RV, you can check current AirSkirts kits and pricing here. Use coupon code RVBlogger to save $100 when that code gives you the best available discount.
What Are AirSkirts?
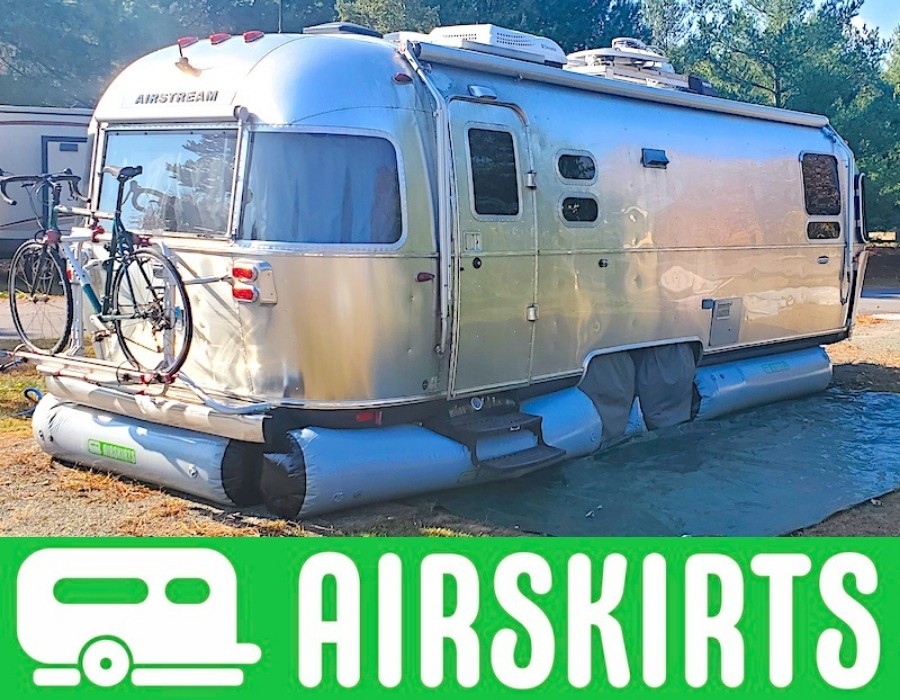
AirSkirts are inflatable tubes that fit around the underside of your RV to block wind and create an insulated air barrier between the ground and the RV.
Instead of attaching vinyl panels with snaps or cutting foam board to fit, you lay the tubes around the perimeter of the RV and inflate them until they press snugly against the underside.
Current AirSkirts kits are selected based primarily on the RV’s overall length and ground clearance. Standard tubes are 22 inches in diameter, while high-clearance tubes are 34 inches.
The kits include the inflatable tubes, an 800-watt electric pump, storage bags, and a welcome kit. Accessories such as tire wedges and stair pillows are available when you need to close unusual gaps.
Why RV Skirting Helps in Cold Weather
The underside of an RV is exposed to moving air. Even if your RV has an enclosed or heated underbelly, cold wind flowing underneath can pull heat away from the floor, tanks, plumbing, and other components.
RV skirting works by reducing that airflow.
Traditional skirting creates a wind barrier around the perimeter. AirSkirts take that idea one step further because the inflated tubes themselves contain trapped air, which also acts as insulation.
I would not treat skirting as a substitute for properly winterizing an RV or protecting vulnerable plumbing in extreme cold. But if you are camping in freezing temperatures, reducing the amount of cold air moving underneath the RV can make a noticeable difference.
Our AirSkirts Temperature Test
This was the part of our test I cared about most.
We started with no skirting installed.
The interior of the RV was at 70°F and the outside temperature was about 34°F. We shut off the heat and waited one hour.
After one hour, the RV interior had fallen from 70°F to 58°F.
That was a 12-degree temperature drop.
Next, we installed the AirSkirts, reheated the RV to 70°F, shut the heat off again, and repeated the test.
This time the conditions were actually a little tougher. The outside temperature had dropped to around 30°F and the wind had picked up.
After one hour with AirSkirts installed, the RV had cooled from 70°F to 65°F.
That was only a 5-degree drop.
So in our test:
- No AirSkirts: 12°F temperature loss in one hour
- With AirSkirts: 5°F temperature loss in one hour
This was not a laboratory test. Wind, ground temperature, sun exposure, and other factors can affect heat loss.
But we tried to keep the test conditions as similar as possible, and the difference was large enough that I was impressed.
How Long Did AirSkirts Take Us to Set Up?
This was another thing I wanted to test because AirSkirts were advertised as being much faster than traditional skirting.
I pulled out my phone, started the stopwatch, laid out the tubes, figured out where they belonged, inflated them, adjusted one corner, and stopped the timer.
14 minutes and 55 seconds.
That was my very first time installing the system.
I was skeptical that I could do it that quickly, which is why I timed it.
One thing I want to be clear about: I would not promise every owner a 15-minute first setup. AirSkirts currently tells buyers that first-time setup can take closer to 45 minutes while experienced owners may be faster.
Your RV layout, ground clearance, tires, stairs, jacks, and how quickly you figure out tube placement will all affect the setup time.
Still, compared with cutting foam board or permanently installing snaps around an RV, I found AirSkirts remarkably easy.
Can One Person Install AirSkirts?
Yes. I installed our entire kit myself.
Susan was holding the camera because it was windy enough outside that we could not leave the camera on a tripod.
That turned into a useful test because it showed us that a solo RVer could handle the setup.
The individual tubes are much easier to move before they are inflated, so the basic process is simply to place the tubes first and then work your way around inflating them.
What I Liked Most About AirSkirts
No drilling into the RV. This is a big one for me. Traditional vinyl skirting may require snaps or other permanent fasteners attached to the RV body. AirSkirts do not.
They handled odd shapes and gaps well. RVs have steps, hitches, tires, jacks, drains, and other things that make traditional skirting awkward. The inflatable tubes can be positioned around many of those obstacles, and AirSkirts sells accessories for areas like dual-axle tires and steps.
The temperature test produced a real difference. This mattered more to me than any marketing claim.
I could install them alone. That makes the system more realistic for solo travelers.
They are reusable. If you move frequently, being able to deflate the tubes and take them with you is a major advantage over rigid DIY skirting.
There is no custom permanent installation. If you change RVs, there is at least a chance your existing pieces can be reconfigured or supplemented instead of starting over from scratch.
What I Did Not Like
I do not want this to sound like an advertisement, so there are a few downsides worth knowing.
AirSkirts are not cheap. DIY foam board can cost far less. You are paying for convenience, portability, fit, and reusability.
Cold PVC is harder to fold. Deflating the tubes was easy. Folding them tightly enough to fit back into the storage bag was the hardest part of our test because it was around 30°F outside and the material was stiff.
Everything did fit back into the bag—including the pump—but I had to put some muscle into folding the tubes.
You need to inspect for sharp edges. AirSkirts currently recommends checking the underside of the RV for sharp screws, stair corners, jack edges, and anything else that could puncture a tube before the first setup.
Tube placement takes some figuring out the first time. Our kit did not come with a diagram showing exactly where every piece went. Current AirSkirts instructions provide diagrams for some customized and Airstream kits, while other RVs may require you to determine the best configuration from sample layouts.
How Durable Are AirSkirts?
The material felt much tougher than I expected.
I have owned an inflatable personal pontoon fishing boat for years and dragged those pontoons over plenty of rocks without puncturing them. The AirSkirts material felt at least as substantial to me.
During our first installation, I actually overinflated one tube enough that it started lifting against the RV. I immediately let some air out, but the tube was fine.
That does not mean they are puncture-proof. AirSkirts includes patches, and punctures and tears are not covered under the standard warranty.
AirSkirts Warranty, Returns, and Fit Guarantee
As of this update, AirSkirts offers a 5-year limited warranty on its RV skirting products.
They also offer returns within 30 days of receipt. Return shipping may be deducted from the refund depending on how the return is handled.
I also like their fit guarantee. If you ordered the correct kit and the supplied tubes do not fit your RV properly, AirSkirts says they will help adjust the layout or swap tubes to complete the setup.
That matters because there are a lot of different RV underbody shapes out there.
AirSkirts vs. Traditional RV Skirting
There is no single best RV skirting solution for everyone.
Foam board is usually the cheapest option and can insulate well, but it takes time to measure, cut, fit, secure, store, and replace damaged pieces.
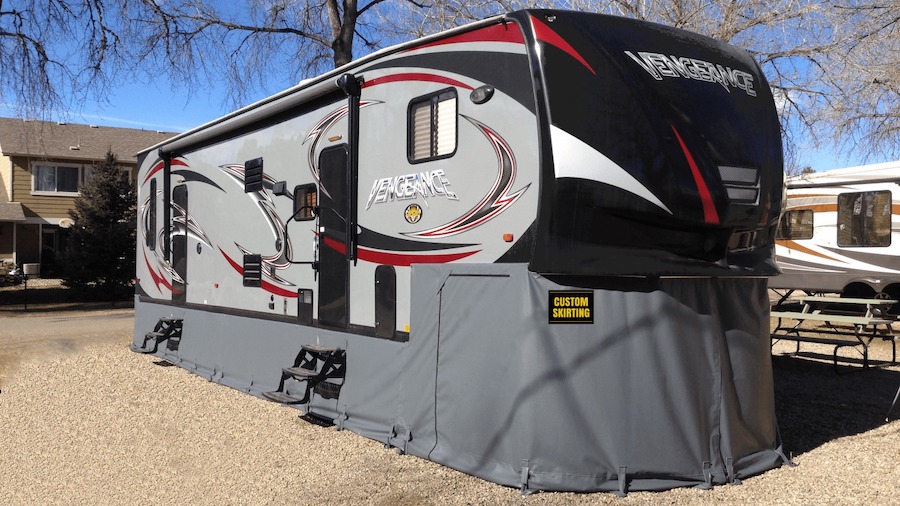
Custom vinyl skirting can look very clean and work well for an RV that stays in one place, but it may require permanent attachment points and can be expensive.
Plywood or other rigid materials can work for seasonal sites but are impractical if you move frequently.
AirSkirts make the most sense to me for RVers who want an effective skirt they can set up, remove, pack, and use again without modifying the RV.
Do AirSkirts Help in Summer Too?
The same basic principle works in warm weather: skirting reduces airflow underneath the RV and helps isolate the underside from outside conditions.
AirSkirts markets the system for both heating and cooling efficiency.
Our own controlled test was done in cold weather, so I can personally speak much more confidently about the winter benefit than the summer benefit.
If your RV sits on a hot site for weeks or months at a time, reducing hot air movement underneath may still help your HVAC system. I just would not claim an exact cooling percentage without testing it ourselves.
Who Should Consider AirSkirts?
I think AirSkirts make the most sense if you:
- Camp in freezing or near-freezing weather
- Want to extend your camping season into late fall or early spring
- Live in your RV for part or all of the winter
- Pay separately for propane or electricity at a seasonal site
- Move often enough that permanent skirting is inconvenient
- Do not want to drill holes or add snaps to your RV
- Want a system a solo RVer can realistically handle
If you only camp a few weekends each summer and store the RV all winter, I probably would not spend this kind of money on skirting.
But if you camp when temperatures are pushing toward freezing, this is one of those products that solves a very specific problem extremely well.
Which AirSkirts Kit Do You Need?
AirSkirts currently sizes kits based on your RV’s manufacturer-stated overall length and ground clearance.
Do not guess based only on the model number printed on the side of your RV. Manufacturer model numbers are notoriously inconsistent.
You can use AirSkirts’ kit selector here. They also review orders and may contact you if the kit does not appear to match your RV.
If you are unsure, I would give them the exact year, manufacturer, model, overall length, and ground clearance rather than trying to piece the kit together yourself.
How to Save on AirSkirts
AirSkirts periodically runs seasonal promotions, and they only allow one promo code per order.
Our regular reader discount is $100 off with coupon code RVBlogger.
Before checking out, compare the RVBlogger discount with any larger promotion AirSkirts may be running at the time and use whichever saves you more.
Click here to see current AirSkirts pricing and available kits.
My Bottom Line: Are AirSkirts Worth It?
For the right RVer, yes.
I would not buy AirSkirts simply because they look cleaner than foam board. I would buy them because they are portable, reusable, require no drilling, can be installed by one person, and in our test they substantially reduced the rate at which our RV lost heat.
The biggest downside is price. The second is wrestling the cold PVC back into a tight storage bag when the temperature is around freezing.
But the product did what I wanted it to do.
We installed it ourselves, timed it, temperature-tested it, deflated it, packed it away, and came away impressed.
If I were planning to spend significant time camping in freezing weather, AirSkirts would be my choice over building temporary skirting every time I moved.
If you want to see what a kit would cost for your RV, check AirSkirts here and remember coupon code RVBlogger for $100 off when it is the best available offer.
Related Reading
Mike Scarpignato – Bio
Mike Scarpignato founded RVBlogger.com with his wife, Susan, in 2018 to help new and experienced RVers make better decisions about buying, owning, and traveling in an RV.
Mike has decades of camping experience and has traveled extensively in both a Gulf Stream Conquest Class C and a Thor Challenger Class A motorhome. He and Susan spend much of the year on the road, attend RV shows, visit dealerships, and tour RVs across the country.
Through RVBlogger.com and the RVBlogger YouTube channel, Mike shares practical, first-hand advice about RV buying, floor plans, ownership, maintenance, gear, campgrounds, and the RV lifestyle.

Is there a product to permanently seal around a back door that leads from add-on into trailer ? To not allow snow or rain to get in between? Plus along the top where the roof attaches to the trailer ?
I own a 40 ft motorhome. How much would it cost to airskirt my home?
Looks like required option for us 4 seasons campers/ RVer!