Thanks for your support! If you make a purchase using our links in this article, we may make a commission. And, as an Amazon Associate, I earn from qualifying purchases. See the full disclosure here.
So, you’ve been having your RV roof overhead for many years, keeping you safe, warm, and dry. Now you’re giving that roof the evil eye knowing the time has come to open your wallet and give it some much needed TLC. Or maybe it’s time to bite the bullet and reseal your RV roof!
But How much will it cost to reseal your RV roof?
Of course, it depends on the type of roof you have and the amount of damage (if any) your roof has incurred. But on average, here are the costs per square foot you can expect:
| Rubber Roof | 45 Cents per Square Foot |
| Fiberglass Roof | 18 Cents per Square Foot |
| Metal Roof | 21 Cents Per Square Foot |
In addition to the cost of the roof coating, you also need to factor in the costs for roof cleaning chemicals and supplies to prep the roof for its new coating.
The Difference Between Coatings and Sealants
Just like a residential home, eventually, your RV roof will need a makeover. If your RV is 9+ years old and the roof has not been maintained as it should, it may be time to check into re-coating the entire roof. Coatings are generally a liquid used for covering the whole roof. Depending on whether the roof is rubber, fiberglass, or metal you’ll want to buy a coating that is appropriate for the RV’s roof material.
Thoroughly clean the roof before applying any coating or sealants. There are numerous roof coatings to choose from on the internet. One that stood out was Heng’s Rubber Roof Coating. It’s recommended that two coats be applied on rubber roofs, ensuring the first coat is thoroughly dry before the application of a second coat.
If you use a silicone roof coating, only one coat is necessary. Urethan and acrylic types will require a couple of coats, including a primer.
An RV roof sealant can be used to “coat” the roof. However, many tend to be used for cracks or a particular area on the roof where you find a leak or wish to prevent one from occurring. A sealant comes in the form of liquid, tape, or caulk.
It works by sealing up holes on the RV roof, cracks around vents, the a/c unit, window gaps, or the roof’s edge. Wherever the sealant will be applied, ensure the area is cleaned before application for assurance that the sealant will adhere properly.
Many times, a caulk gun and appropriate roof caulk can be used to seal any cracks. Another handy product is sealant tape, such as EternaBond. The prep work for use is minimal. It comes in several lengths and widths, is long-lasting, and does an excellent job of protecting against the elements.
Note, the terminology of coatings and sealants are often used synonymously. Researching the appropriate coating or sealant for your RV will result in products that either coat, seal, or can do both.
Coating or Resealing Your RV Roof
When coating an RV roof, the process should be completed in one day. First, wash the RV roof with an appropriate cleaner and ensure the roof thoroughly dries.
For rubber roofs, use a cleaner/activator (many can be found on amazon.com). The cleaner/activator helps open the pores on the EPDM membrane for several hours. This allows the coating to embed itself in the old roofing and form a tight bond.
To avoid any coating from sticking to the sides of the RV, it’s a good idea to tape the edges with a good quality painter’s type of tape.
Apply the first coat of roof sealant using a medium-nap roller. Allow to completely dry. Depending on humidity and temperature, drying time will vary. Apply a second coat and allow 3 to 4 hours to dry before sunset. Do not use the RV for 24 to 48 hours after applying the roof coating to ensure it is completely dry and sets properly.
The roof area, where a sealant will be applied, should also be cleaned and dry. There are many RV roof cleaners on the market, or a mixture of Tide and warm water works well. Dawn dish soap, while useful for many cleaning projects, can leave a film that may prevent the sealant from adhering to your roof.
RELATED READING: Check out our article called 9 Easy Tips for Cleaning Your RV Rubber Roof for info that will help you clean your rubber roof.
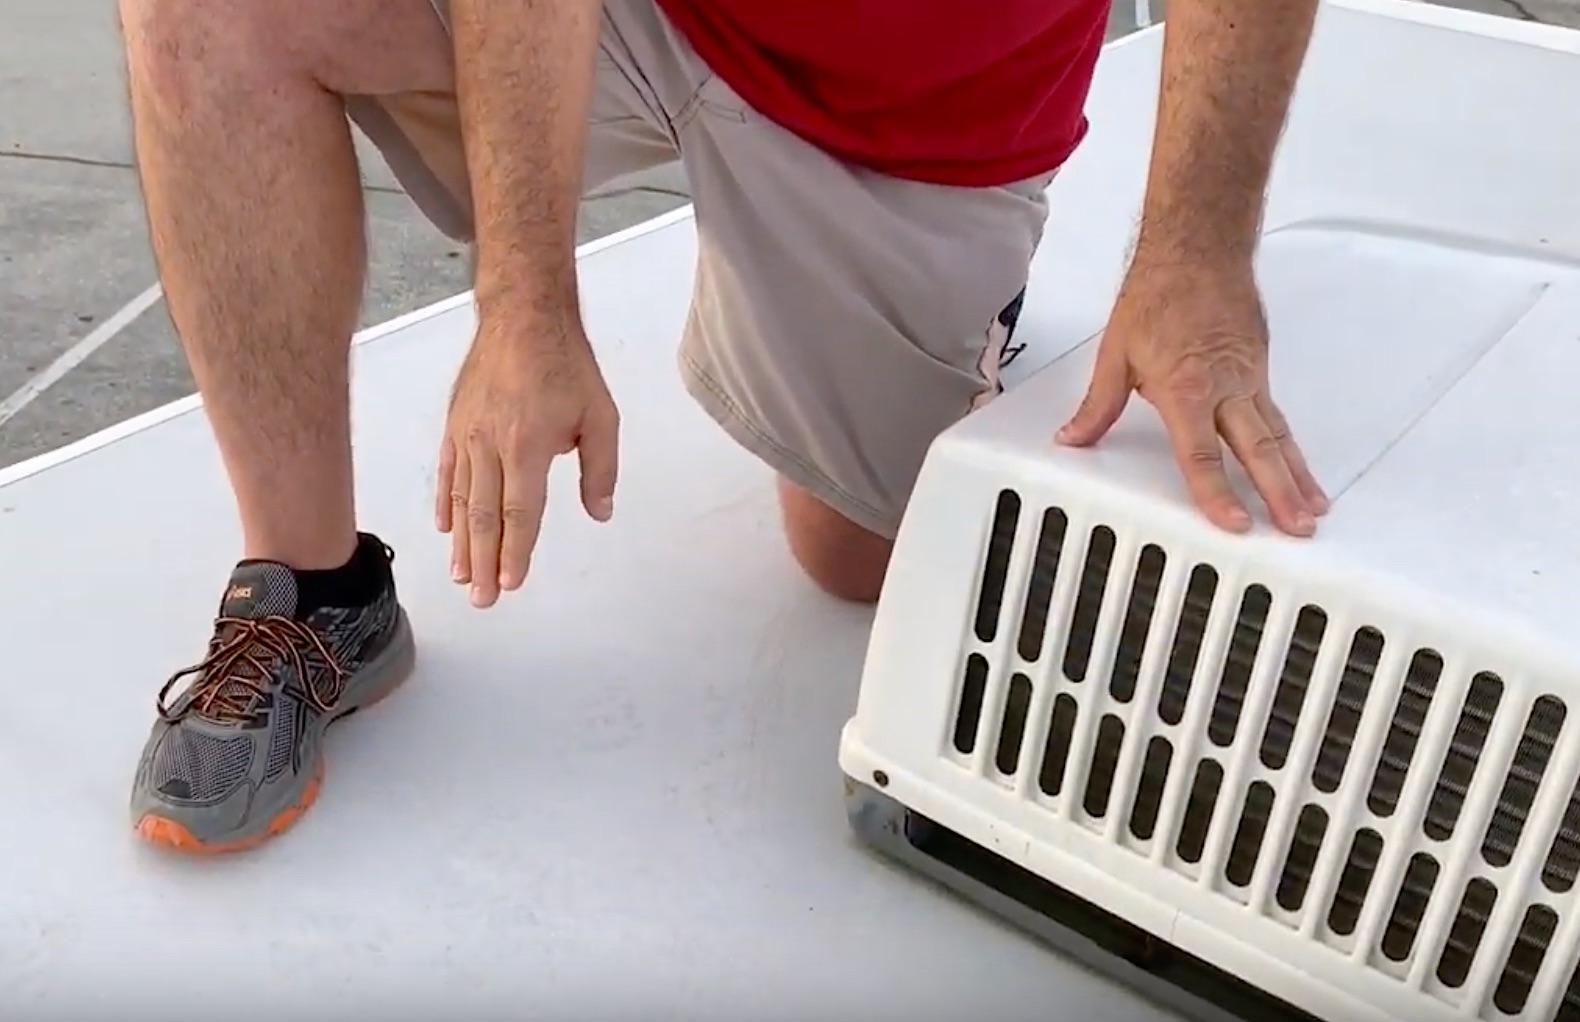
Inspect the RV roof in good lighting. The goal is to look for areas where potential leaks might appear and seal those areas before damage could occur.
If there are cracks on the roof that have previously been sealed, you will only need to remove the old sealant if it is loose or separating. If removing from a rubber roof, do so carefully so as not to tear the roof material.
A putty knife or a wide, smooth flat blade can be used for removing the sealant. If working with an aluminum roof, a putty knife and heat gun make for easy removal.
Clean the area using a cloth and denatured alcohol. Use the appropriate sealant of choice on the RV roof to seal, or apply additional sealant to the area, as the case may be.
It’s a good idea to routinely inspect all seams on the exterior of your RV. The RV Owner’s Manual should list sealants compatible for the surface and roof of your RV, or be sure to check with your local dealer.
How To Find a Roof Leak
Not everyone will experience a roof leak during their RV’s life. However, there will be some unfortunate souls who do.
Just in case, it sure would be best to understand ways to prevent one from happening and/or identify where it’s coming from should you find your RV has sprung a leak.
We can all relate to Ben Franklin’s, “an ounce of prevention is worth a pound of cure” in many aspects of life. Leaks are never a fun topic, so staying on top of them is definitely worth the effort.
The number one best way to determine where a roof leak exists is to have a professional perform a pressure test within the RV to determine external leaks.
By creating higher air pressure inside the RV than the air pressure outside, air will then be forced to escape via any crevices, cracks, or holes from your RV. The RV’s exterior is sprayed with soapy water, allowing a professional to gauge exactly where any leaks may be lurking.
RELATED READING: Please refer to our article called Should I Pressure Test My RV for Roof Leaks? for much more info about the topic.
Several items can cause leaks such as a damaged compression gasket, urethane, or silicone sealant or butyl tape used as a filler. These items should be checked periodically for any loose or missing gaskets, cracks, crevices, gaps at the windows, or loose sealant.
The “ounce of prevention” will save you a lot of potential headaches and money down the road. To prevent leaks in your roof, always have a plan to maintain, restore, or re-seal as needed.
Is It Time to Replace My RV Roof?
A rubber TPO type roof should have no signs of the rubber membrane being torn or bubbling. If you have multiple areas showing this type of wear and tear or an area so damaged that it is compromising the roof as a whole, you may want to think about replacement.
Replacing the roof will require you to remove the awning and any other items that are typically secured to the roof. The entire roof membrane must be stripped off, and any damaged plywood underneath replaced.
The new roof membrane is then put in place, and the items generally on the roof (vents, ac units, antenna, etc.) must be adequately sealed, as well as the roof’s edges along the sides of the RV.
This is a big undertaking and may be best performed by a qualified RV technician.
Polyurea Roof Coating
We discovered a pretty cool product for keeping your RV roof leak-proof and maintenance free for years.
The same companies that install spray-on rubber bed liners in pickup trucks also use that same product to replace an RV Roof.
I had a pickup truck with this coating and nothing ever punctured it. I threw rocks, concrete, rebar, and even recycled concrete with rebar sticking out in my truck bed, and it held up for years. When I replace my RV roof, this is the product I will be using for sure!
This type of roof coating is called a polyurea roof coating. It is maintenance-free, seamless, puncture resistant, and will not deteriorate, sun-rot, or crack. The roof coating requires no inspection, no re-sealing, and no conditioning. In many cases, it comes with a 20 year guarantee!
Here is the website for Pasadena Bed Linings, which is a company that installs polyurea RV Roofs near where I live in Maryland. I bet you can find a place near you that does the same thing.
Conclusion
You can decide which option is better for you when it’s time to replace or reseal your RV roof. Some folks will want to save money and do it themselves; others will want to ensure it’s done properly and hire a professional.
Whichever way you decide to go, we hope this article helps point you in the right direction!
Related Articles:
– Can You Repair Your RV Roof From The Inside?
– Can I Walk On My RV Roof?
– Can You Repair Your RV Roof From The Inside?
– Can I Use Flex Seal on My RV Roof?
– Should I Pressure Test My RV for Roof Leaks?
Mike Scarpignato – Bio
Mike Scarpignato founded RVBlogger.com with his wife, Susan, in 2018 to help new and experienced RVers make better decisions about buying, owning, and traveling in an RV.
Mike has decades of camping experience and has traveled extensively in both a Gulf Stream Conquest Class C and a Thor Challenger Class A motorhome. He and Susan spend much of the year on the road, attend RV shows, visit dealerships, and tour RVs across the country.
Through RVBlogger.com and the RVBlogger YouTube channel, Mike shares practical, first-hand advice about RV buying, floor plans, ownership, maintenance, gear, campgrounds, and the RV lifestyle.

You really did a wonderful job. Cleaning and prepping the RV roof is the most essential part of any RV resealing job. However instead of using any ordinary sealant use Liquid RV Roof. Liquid RV Roof not only water proofs the roof, but it also reflects UV rays and is also not affected by ponding or standing water.
Professional RV shops and dealerships do provide a number of maintenance services, including resealing. However, most places will charge over $1,000 for the job, with larger RVs requiring an estimated $1,500 to $2,000 for a full reseal. You can cut your RV roof reseal cost significantly to about 1/3 of what they charge by doing the work yourself. You might spend 15 or 20 hours prepping and resealing your own roof, but you can save a fortune on labor costs and know that the job is done right.
Hi Marissa,
After watching the amount of work and attention to detail that went into resealing my RV roof I would say for me it was totally worth the money. Anyone can spread some resealer on their roof but it’s the prep that really makes your roof leak proof. Don’t prep your roof correctly and all the coats of reseal in the world won’t keep the water out of your RV.
I called up Pasadena Bed Linings in Maryland to get an estimate on the cost to reseal the roof on my Freedom Elite. As we were talking he asked where i heard about his company so I mentioned the blog. Believe it or not he was in the middle of doing Mike and Susan’s RV roof. These two really do use the products and services mentioned in their blog!