Thanks for your support! If you make a purchase using our links in this article, we may make a commission. And, as an Amazon Associate, I earn from qualifying purchases. See the full disclosure here.
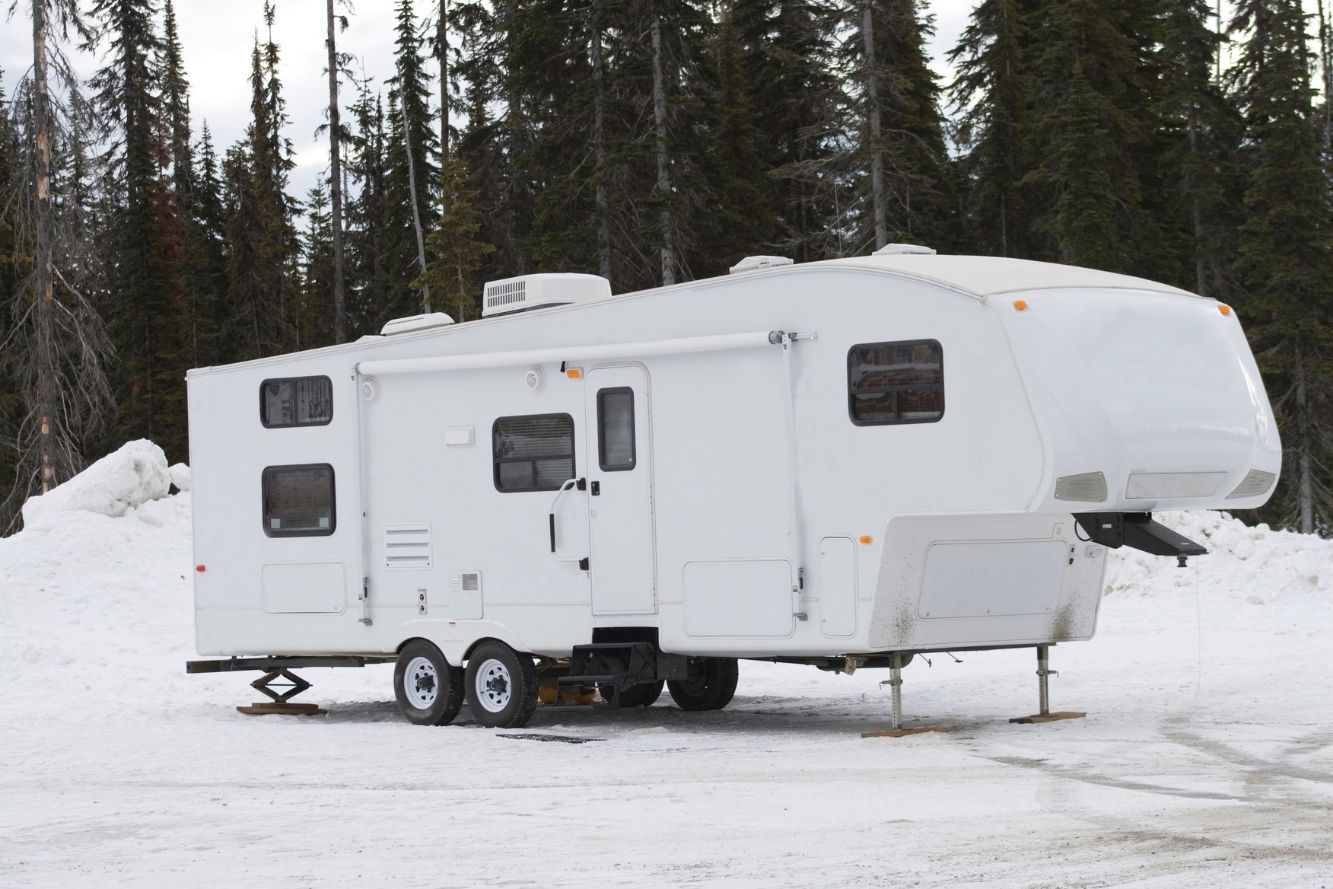
Did you know that you still have to winterize a tankless RV water heater? They don’t store water, but the internal plumbing of a tankless RV water heater needs protection. Or, you could end up buying a new tankless water heater for your RV come springtime!
It’s true.
Properly winterizing your tankless RV water heater will help you avoid damage from freezing temperatures. While your RV is in winter storage, the pipes can crack from drying out. Winterizing your tankless RV water heater prevents that from happening.
In this article, we’re talking about how to winterize your tankless RV water heater.
We’ve included instructions directly from some of the most popular tankless RV water heater brands. We’ve also included general instructions in case your tankless RV water heater is not from one of the brands listed here.
What is a Tankless Water Heater and How Does It Work?
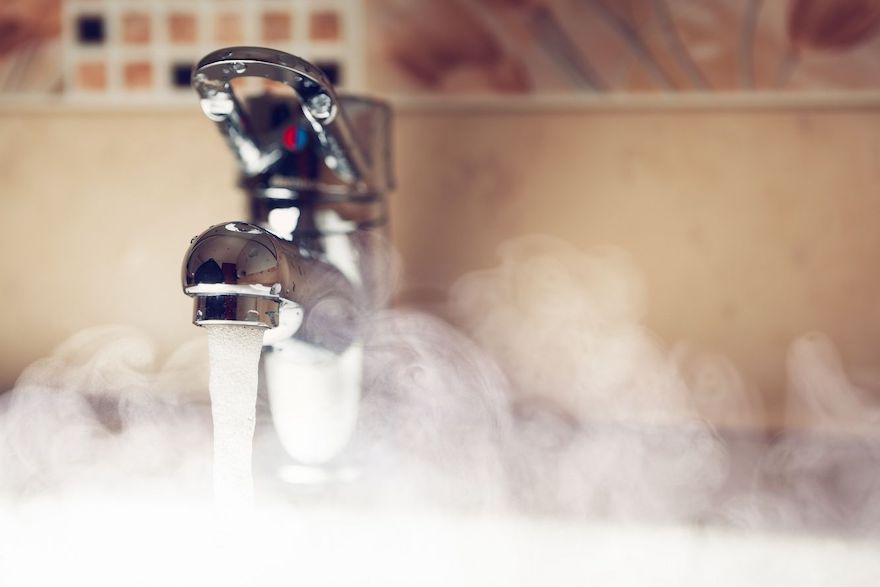
A tankless water heater, sometimes referred to as an ‘instant’ or ‘on-demand’ water heater, is a type of water heater that doesn’t use a tank to store and heat water.
Tankless RV water heaters don’t waste gas or energy trying to heat an entire tank of water. Instead, they only heat water as you need it, hence the name ‘on-demand’.
RV tankless water heaters come in both electric and LP-gas powered options. And most tankless water heaters for RVs are the same size and shape as regular water heaters, so upgrading is a breeze.
Do You Need to Winterize a Tankless RV Water Heater?
Even though on-demand water heaters don’t have a tank full of water, you still need to winterize a tankless RV water heater.
Tankless RV water heaters still hold a small amount of water in them, up to 1 liter. And the water pipes leading to and from the tankless water heater hold water in them which can freeze and crack if not properly winterized.
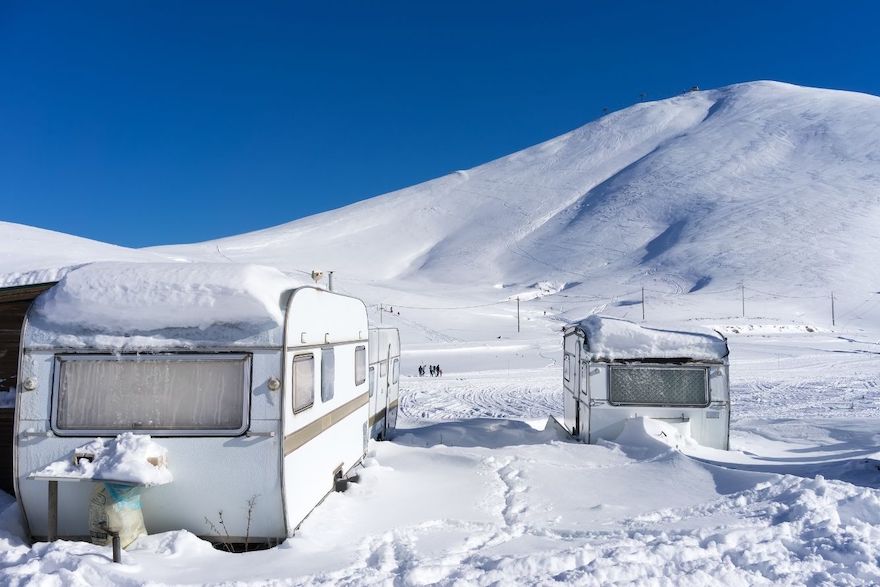
It’s important to note that any water remaining in your RV plumbing system during sub-freezing temperatures can have disastrous consequences.
A tankless water heater isn’t exactly a small investment. So it’s important to properly winterize it so you don’t have to replace it next camping season.
How to Winterize a Tankless RV Water Heater Including 4 Most Popular Brands
Winterizing a tankless RV water heater, including the four most popular brands, have slight variations based on the model you have. There are some commonalities, but we recommend reading through the owner’s manual, so you learn those little differences.
Here are winterizing instructions from some of the top brands.
1. Winterizing Girard Tankless Water Heater
According to the manual, winterizing Girard tankless water heaters advise you to remove all water from the tankless water heater for winterization.
Girard recommends running RV antifreeze through your water heater to keep it protected in winter.
- Before beginning, be sure that the power to your water heater is turned off and disconnected from city water.
2. To winterize your Girard tankless water heater, first drain all the water from your RV’s plumbing system (and water heater) using compressed air.
3. Next, run RV antifreeze through your motorhome or travel trailer pipes according to the manufacturer’s instructions.
4. There’s no need to bypass your tankless water heater during the process. Ensure that your Girard water heater drains properly.
5. Finally, plug the drains and run antifreeze through them while winterizing your RV.
2. Winterizing Furrion Tankless Water Heater
Winterizing your Furrion tankless water heater is a very similar process to the Girard tankless water heater.
During the process, Furrion recommends closing all drains in your RV except the tankless RV water heater to isolate it and ensure all the water is removed.
- First, disconnect the power and city water. Allow all the water to cool and then drain your fresh water system, including the water heater.
2. Use compressed air (not exceeding 30PSI) to blow the water out of your water system.
3. Winterizing CampLux Tankless Water Heater
Winterizing the CampLux tankless water heater requires a different perspective. The portable models are popular tankless heaters used in RVs and in many DIY campervan conversions.
Winterizing instructions for this tankless RV water heater are:
- Turn off and disconnect the propane and/or power.
- Shut off the inlet water valve and drain all faucets and water heater.
- You may use compressed air to blow air out of your water system, including the water heater.
CampLux doesn’t specify whether or not it’s safe to use RV antifreeze inside the portable tankless water heater. The most important part of winterizing this water heater is ensuring all water is drained from the system.
4. Winterizing Truma Instant RV Water Heater
Winterizing Truma Instant RV water heaters are relatively effortless. Truma’s a popular brand of RV appliances with several tankless RV water heaters. If you have a Truma water heater, here’s how to winterize it:
- First, turn off the gas and city water. Truma recommends removing the water inlet filter and heating cartridge.
2. Allow several minutes for the water to completely drain from the unit.
3. According to Truma, you shouldn’t insert the water inlet filter or the heating cartridge into the unit during winter if the appliance isn’t being used.
4. After the water is completely drained, the unit is safe for winter.
5. If you want to use Antifreeze, Truma provides instructions on that as well.
6. Each different Truma heater has different antifreeze instructions.
General Instructions to Winterize Tankless Water Heater
The general instructions to winterize tankless water heaters mirror each other. Regardless of the model, the tankless RV water heater you have in your coach, most of them use the same steps.
Although you should always refer to your owner’s manual for specific model instructions, here are the general steps you can expect to do when winterizing your tankless water heater.
1. Turn Off the Power/Gas & Water and Allow the Water to Cool
The first step is to turn off the city water and power or gas to your water heater. Then, allow the water to cool.
Turning off the power or LP gas prevents the water heater from attempting to reheat the water or worse, heat up the antifreeze.
2. Drain and Blow Out Your RV Water System, Including Water Heater
Next, drain all the water from your RV plumbing system. Open all the taps, flush the toilets, and open all the low point drains.
After the majority of the water is drained, you should use an air compressor to blow out any remaining air in the lines.
Refer to your owner’s manual for PSI specifications.
Blowing out the air in your RV plumbing involves opening just one tap at a time, both hot and cold, and the drains on your water heater.
3. Run Antifreeze Through the System
Once all the water is removed from your RVs plumbing, it’s time to add your RV antifreeze.
Winterizing your RV involves running RV antifreeze through all your pipes and faucets. Most newer RVs have a system designed to help you winterize your RV quickly.
Can You Put Antifreeze in a Tankless Water Heater?
Yes, for most brands, it’s safe to use RV antifreeze in your tankless RV water heater. However, be sure to check your owners’ manual for your specific brand.
The best antifreeze for RVs contains propylene glycol as one of the active ingredients.
Propylene glycol is used to maintain moisture and flavor in prepared food. It’s non-toxic and prevents your RV and tankless water heater’s pipes from drying out.
What About the ‘Anti Freeze’ Feature on Some Tankless RV Water Heaters?
Many tankless RV water heaters come with a feature that automatically detects the ambient temperature to prevent freezing.
This feature is commonly called an “antifreeze” feature. The antifreeze feature is typically an electric feature that helps prevent water inside the unit from freezing.
This is a great feature for a full-time or most-time RVer. But, this feature cannot be relied on when you put your RV into storage for the winter.
Whether or not your RV is hooked up to power while in storage, power sometimes fails. If the power fails during sub-freezing temperatures, the handy ‘anti freeze’ mechanism will never kick on.
If your RV will be in storage, you should not rely on the anti-freezing feature to protect your water heater. You have to winterize the entire RV anyway, so be sure to pay attention to your tankless water heater.
De-Winterizing Instructions
When camping season rolls back around, the de-winterizing instructions for your RV (and tankless RV water heater) is a pretty straightforward process.
RV antifreeze is non-toxic, but that doesn’t mean you want to drink it.
You especially don’t want to accidentally heat it up in your water heater!
De-winterizing your RV involves running fresh water through all your faucets and running them until all evidence of RV antifreeze is gone.
In order to get the antifreeze out of your RV tankless water heater, you’ll need to run the hot water taps for a longer time – but be sure your electric or gas heating element does not turn on during the process.
Wait to connect your RV (or tankless water heater) to power or gas until you are sure all antifreeze has been removed from the appliance.
Tankless Water Heater Winterization Wrap Up
To wrap up, the tankless water heater winterization process, regardless of model, is pretty similar.
You can safely use RV antifreeze in almost all tankless RV water heaters, but be sure to check your owner’s manual first.
In many cases, winterizing a tankless heater is easier than a regular one.
The main things to remember when winterizing are:
- Turn off the heating element by disconnecting power or LP gas
- Drain all the water out
- Blowout the lines with the proper PSI
- Fill with antifreeze
De-winterizing the unit is simple and can be done right along with de-winterizing the rest of your RV with a little bit of time and plenty of fresh water.
Related Reading:
– Do Tankless RV Water Heaters Provide Endless Hot Water?
– How Much Does an RV Water Heater Cost?
– How Much Propane Does An RV Water Heater Use?
– How Cold Does it Have to Get Before RV Pipes and Tanks Freeze?
– Do You Have to Winterize an RV or Camper?
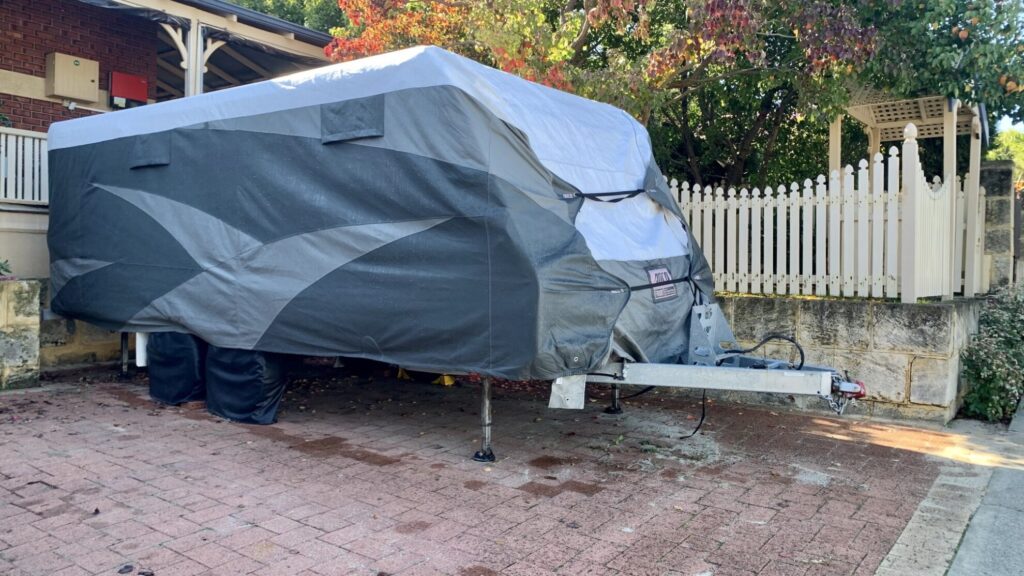
– 10 Steps to Properly Store Your RV For Winter Without Doing Damage
About the Author
Carrie is a part-time van lifer and a full-time nomadic lifestyle enthusiast. Through experiencing both full-time RV and van life, Carrie became passionate about helping others learn how to earn money while traveling. She created the Making Money and Traveling blog to help empower like-minded RV nomads to take control of their lives and finances on the road.
When she’s not camping, you can find her writing or befriending the nearest cat.

We have a GIRARD GSWH-2. The Girard manual says nothing about recommending using the antifreeze method. The manual says use one of two method: the compressed air method or the anti-freeze method. THis tankless water heater also does not have a drain plug